OCuLink eGPU Home Lab
This article summarizes a hardware project: adding a desktop-class GPU to a Lenovo ThinkCentre mini PC using an M.2 → OCuLink adapter and an OCuLink eGPU enclosure. For step-by-step detail, see the linked notes below.
Why OCuLink instead of Thunderbolt?
Mini PCs are efficient and quiet, but integrated graphics hit a wall for gaming, CUDA, local inference, and transcoding. Thunderbolt eGPUs are convenient, yet they share a single high-speed link and often show a larger performance gap than a native PCIe run. OCuLink exposes PCIe lanes to an external box, so in practice you are much closer to “GPU on PCIe ×4” than to a typical TB enclosure—at the cost of opening the host, routing a cable out of the case, and giving up an M.2 slot (often Wi‑Fi or a secondary NVMe).
Hardware used in this build
| Role | Part |
|---|---|
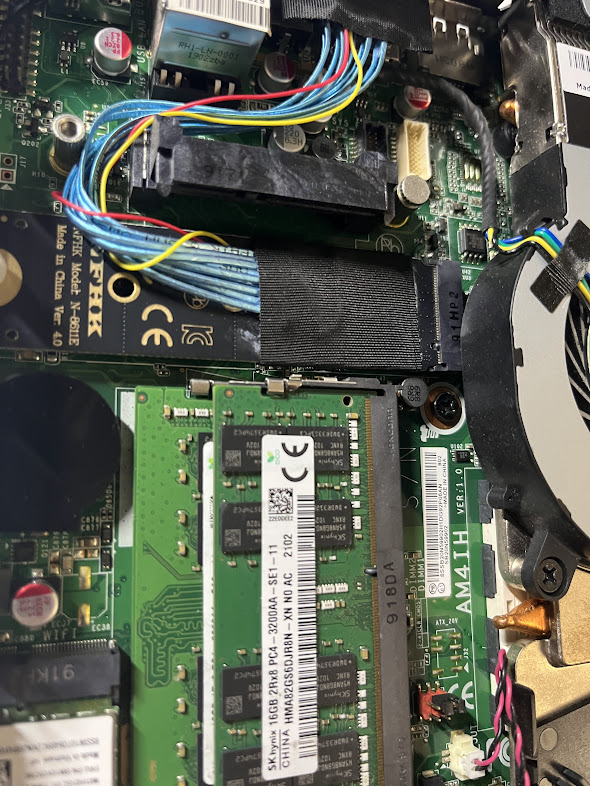
| Host | Lenovo ThinkCentre mini PC (AMD Ryzen 5 PRO, ~30 GB RAM) |
| Link | M.2 (M-key) → OCuLink adapter |
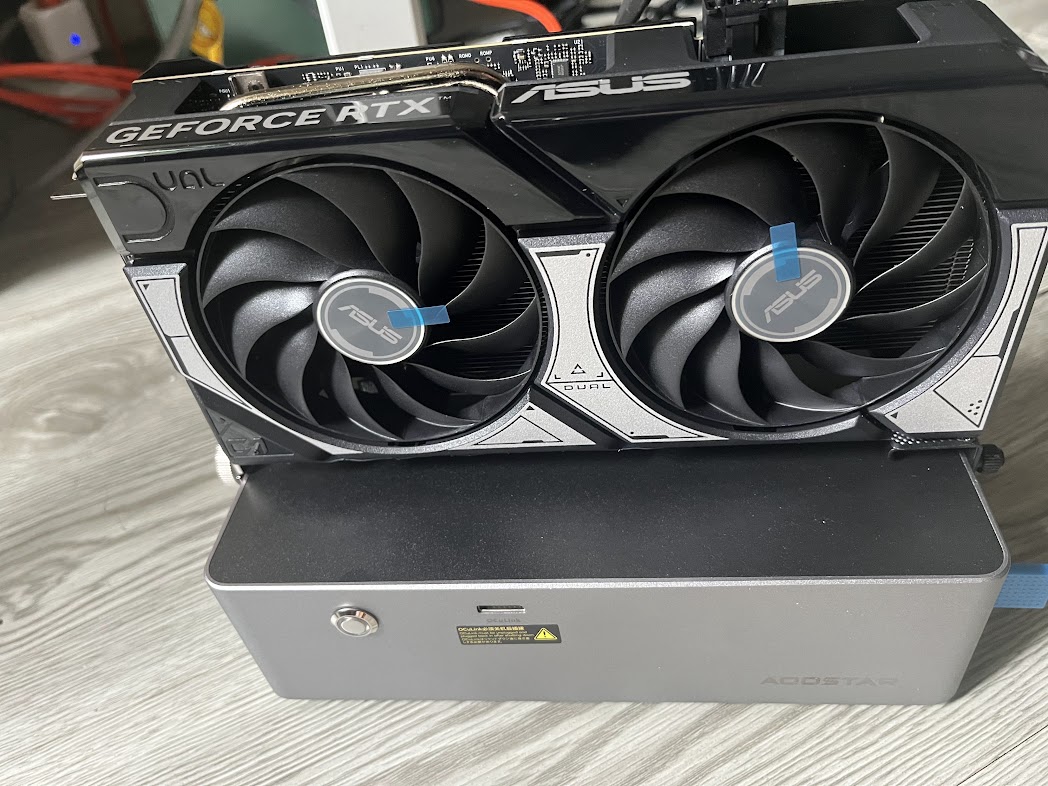
| Enclosure | AOOSTAR (or similar) OCuLink eGPU box |
| GPU | ASUS GeForce RTX (desktop card) |
| PSU | Lite-On FS9323 (in enclosure) |
| Cable | OCuLink ↔ OCuLink (prefer a short, high-quality cable; avoid sharp bends) |
Build flow (high level)
- Prepare — Back up, unplug AC, ground yourself, photo screw layouts. Plan a backup network path (Ethernet or USB Wi‑Fi) if the adapter uses the Wi‑Fi M.2 slot.
- Mini PC — Open the case, seat the M.2 OCuLink board, route the pigtail clear of the CPU fan and heatsink, exit the cable through a vent or planned gap, then close without pinching wires.
- Enclosure — Mount the PSU, install the GPU until the slot clicks, connect PCIe power (6+2 / 8-pin as required), keep airflow unobstructed.
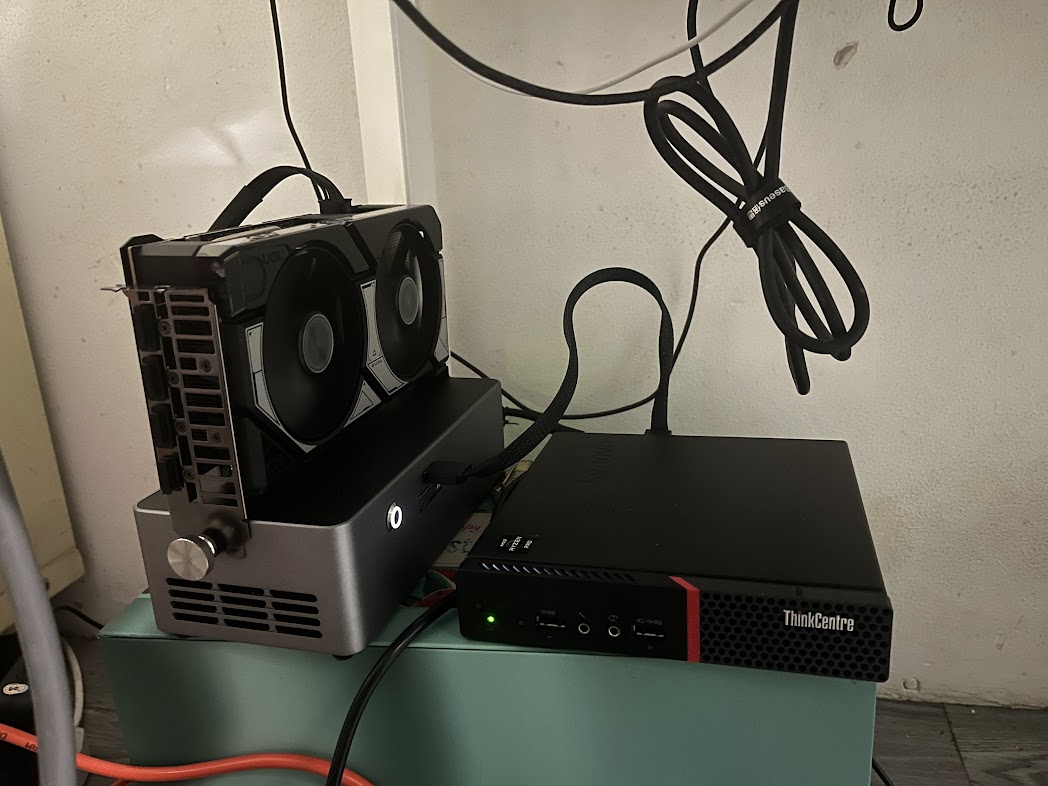
- Power sequence — Enclosure on first, then the mini PC (helps reliable enumeration).
- BIOS — Look for Above 4G decoding, match PCIe generation to what your adapter supports, and be ready to toggle ReBAR while debugging.
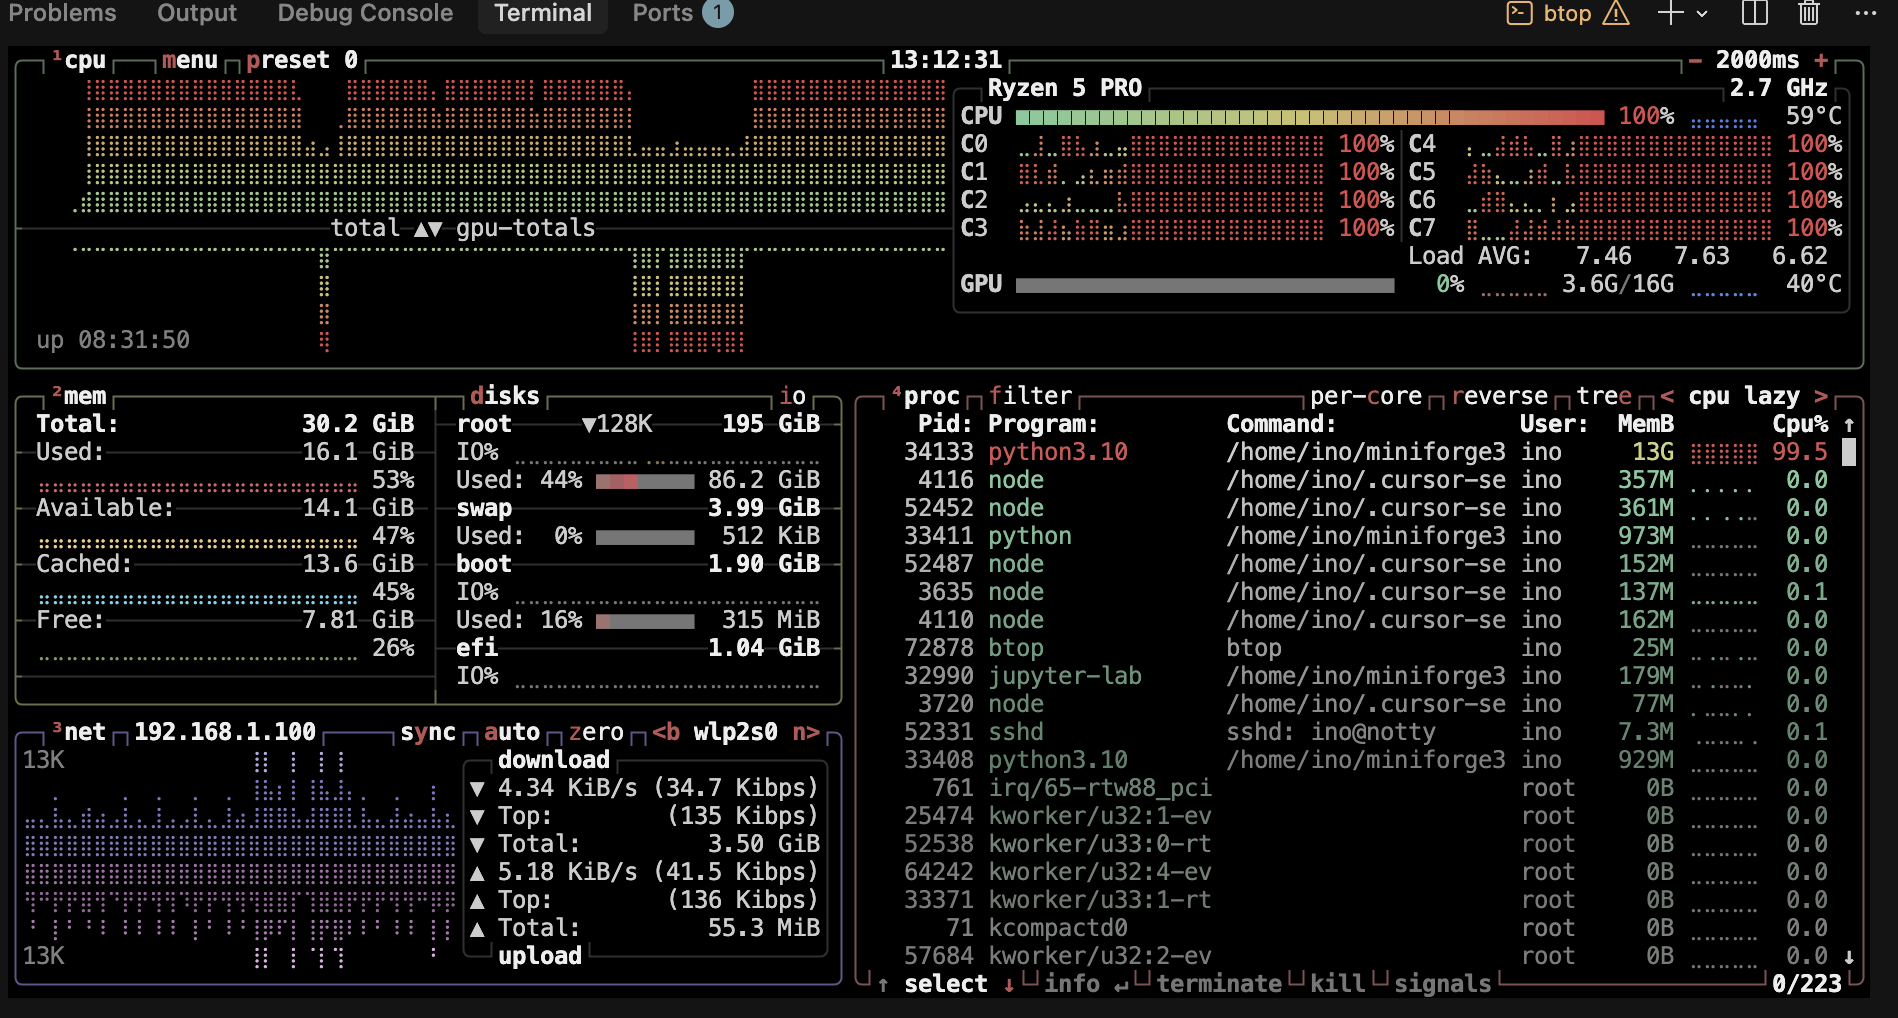
- OS — On Linux:
lspci, vendor tools such asnvidia-smi, and a monitor likebtopto confirm VRAM and thermals. On Windows: Device Manager + vendor driver package.
Gallery
Expectations and caveats
- Performance: Plan for roughly ~5–10% loss versus the same GPU in a desktop ×16 slot—often still better than many Thunderbolt setups for bandwidth-sensitive work.
- Footprint: You now have two powered units and a fat data cable on the desk.
- Risk: Internal mods can void warranty; bad PSU choice or pinched cables can damage hardware.
Do this at your own risk. Use a PSU rated for your GPU, keep vents clear, and monitor temperatures on both the mini PC and the enclosure under load.
Who this is for
Good fit: You already want the mini PC as the always-on brain, and you want one strong GPU for ML, builds, games, or transcode, and you are comfortable with tinkerer-grade integration.
Poor fit: You need a single travel bag solution, you cannot lose internal Wi‑Fi, or you must keep vendor support / warranty untouched.
Further reading
- Documentation · Tutorials · Projects
- Long-form notes:
oculink_lenovo(setup guide, checklists, build story)
Quick Linux checks
lspci | grep -i -E 'nvidia|vga|3d'
nvidia-smi
Last updated: April 2026